Shoreline erosion is one of the most common reasons why persons with a waterfront property decide to have a seawall built. In a nutshell, shoreline erosion is the wearing away of the land (or shoreline – where the sand meets the water) due to weather, drainage problems, and other environmental conditions. Harsh weather conditions, such as extreme heat or cold as well as storms can accelerate the process of shoreline erosion.
This forces residents with waterfront properties to either have a seawall installed (if one is not already in place, of course), or to have their existing seawall repaired. If the customer already has a seawall in place, but is noticing shoreline erosion problems, it is generally advised that a new seawall be built in order to slow down the erosion process.
There are many construction companies out there who offer the installation of a new seawall at a fairly low cost. But buyers beware, as we often find that these cheaper seawalls do not last nearly as long as the homeowner anticipated, and therefore the seawall requires a great deal of maintenance and upkeep (which can get costly in the long run).
At Seaside Seawalls, we have a 10 year guarantee, meaning that we believe that our superior seawalls will outlast the rest for at least the next decade. In addition, our seawalls are generally maintenance-free and provide the maximum durability and protection of your shoreline.
As you can see, shoreline erosion is not only a problem for your waterfront property, but also an issue if you currently have an older seawall installed and it is beginning to fail. In fact, most of Seaside Seawalls’ customers contact us to either repair their existing seawall, or construct a new one entirely, and it is almost always due to shoreline erosion problems.
A seawall can be built from many different types of material, depending on what you, the customer, prefer. At Seaside Seawalls, we offer steel, vinyl, rock, and riprap seawalls (as can be seen here) However, our most popular type of seawall is a steel seawall, and even more specifically, a galvanized steel seawall (we offer both galvanized and black steel).
In this article, we will walk you through a basic step-by-step process of how to build a seawall, so that when you’re having one installed, you know a little bit more about what exactly it is that we’re doing!
How to Build a Seawall:
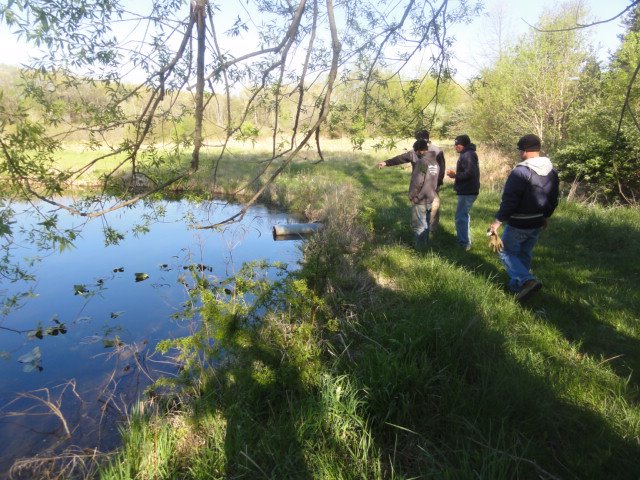
Step 1: Examine the Area and Environment
In any construction job, it is imperative that your team carefully examines and surveys the area where the seawall is going to be built. The condition of the land, water, and other surrounding environment are all important factors to consider before any type of construction begins. Additionally, the water level at its highest point must be considered.
Measurements will also be taken at that time to determine how much of a particular material we will need as well as the size of the project and the machinery required. We will also speak with the customer about his/her specific seawall requirements. Most customers want a seawall that is both functional and visually appealing.
Step 2: Remove Pre-Existing or Failing Seawall (if applicable)
If the customer already has a seawall in place and is contacting us to replace it with a brand new one, we have to remove most of the pre-existing seawall before we begin our construction. This means that we have to cut down the portion of the seawall that is below the grade (Note: the “grade” is where the shoreline is – where the sand meets the water).
Step 3: Determine the Number of Pilings Needed
Once we have taken the necessary measurements (as discussed in Step 1) and determined the overall length of your new seawall, we have to figure out the number of posts or pilings that will be needed. On average, pilings are installed approximately every 6 – 8 feet along the wall.
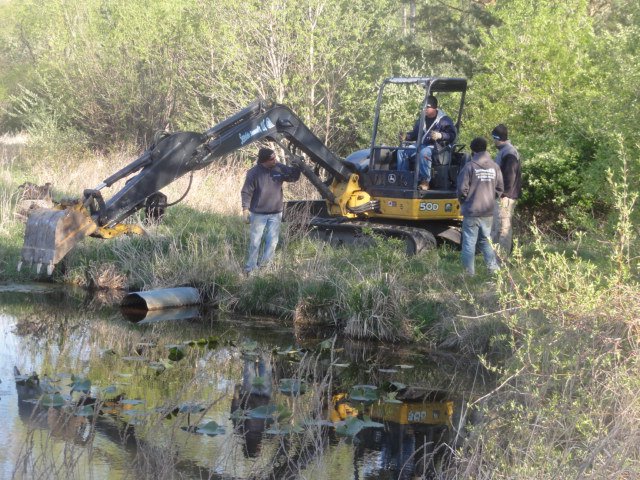
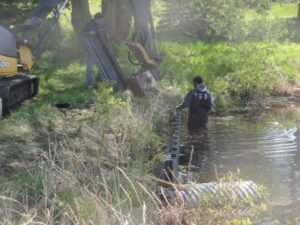
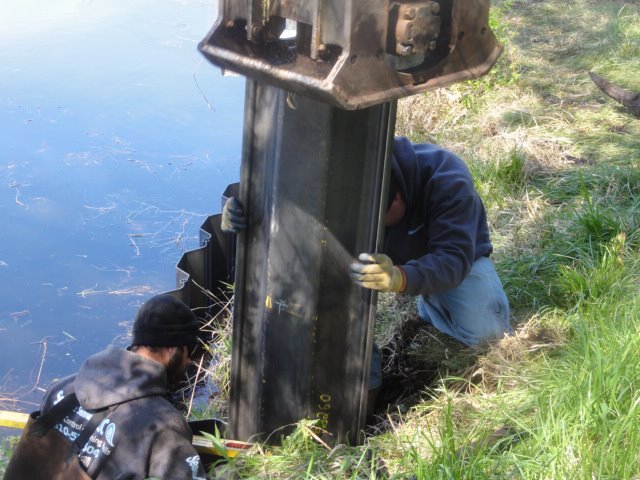
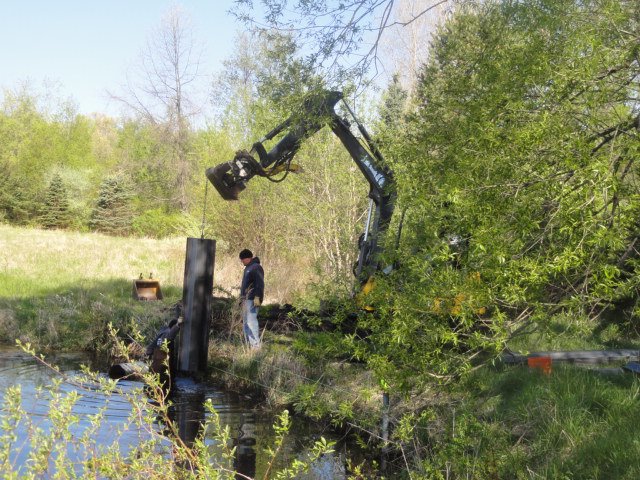
Step 4: Install the Pilings
At the water’s edge, where the pilings are going to be installed, the area usually needs to be excavated. This means that we will have to remove any debris or materials that will interfere with our construction efforts when attempting to install the new seawall. We also have to excavate and essentially “drill” the pilings into the ground beneath, as these pilings serve as support for the seawall itself. Depending on the weather, time of year, and soil conditions, pilings can be drilled into the ground as little as 4 feet or as much as 6 feet in depth. The variation in these depth measurements is dependent on the height of the seawall overall. Pilings are generally vibrated into the ground using a vibrating machine or a water jet if the machine does not fit on the shoreline.
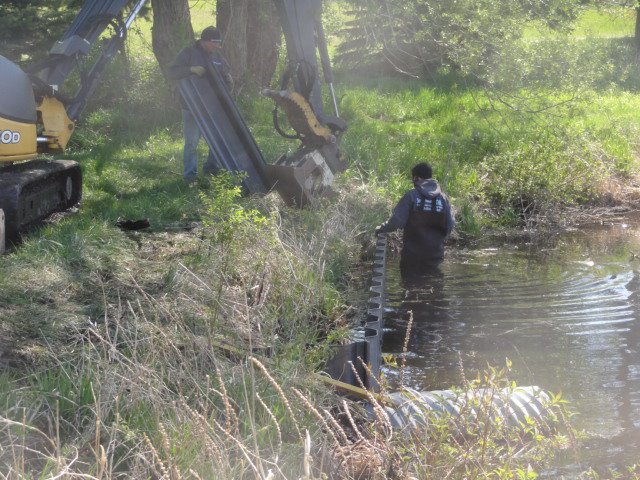
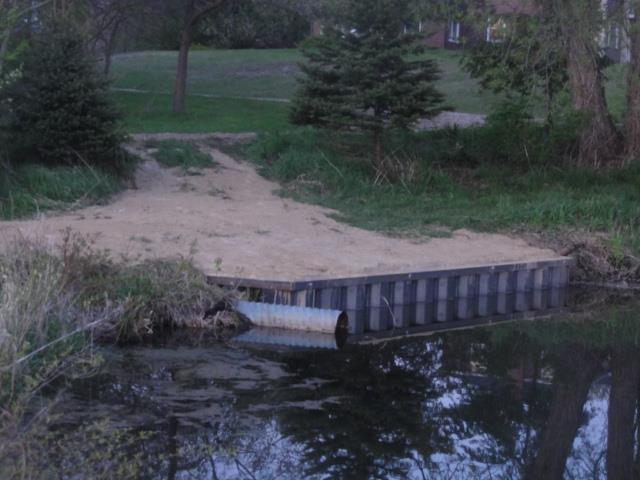
Step 5: Build the Seawall
This one is pretty self-explanatory, and is also dependent upon the type of seawall we are installing. As previously mentioned, our most common type of seawall is a steel seawall. If this is the case, we have to ensure we have enough material (steel, riprap, sand for backfill, etc.) before we begin construction. Each piece of steel is installed individually and carefully so that it is both sturdy and uniform-looking (i.e. all the same height).
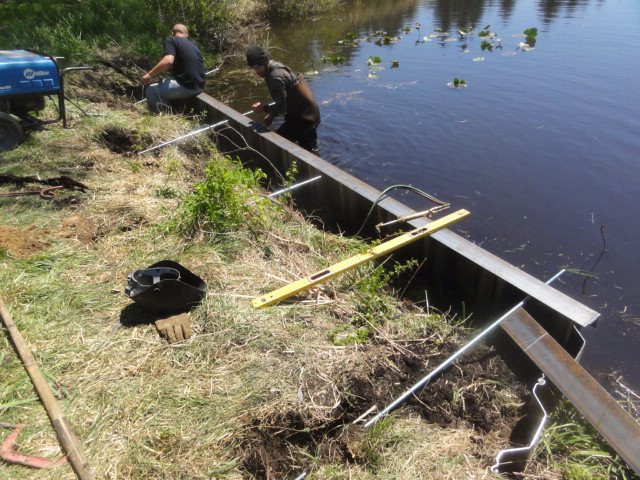
Step 6: Weld Tiebacks and Anchors to the Seawall and Place into the Ground
This is a very important step and is often overlooked by other construction companies who do not specialize in marine construction. At Seaside Seawalls, we have had customers call us to tell us that the company who installed their current seawall never installed any tiebacks or anchors, and simply pounded the seawall into the ground. This is never a good idea, and is another common reason why seawalls fail, since they won’t stay in place for very long if they are built without tiebacks and anchors. Tiebacks should be installed into the ground about 6 – 9 feet back from the shoreline, and are usually positioned every 7.5 feet along the seawall for additional support. Anchors, which attach to the tiebacks, are inserted into the ground vertically about every 4 to 5 feet, and also help to hold the seawall in place.
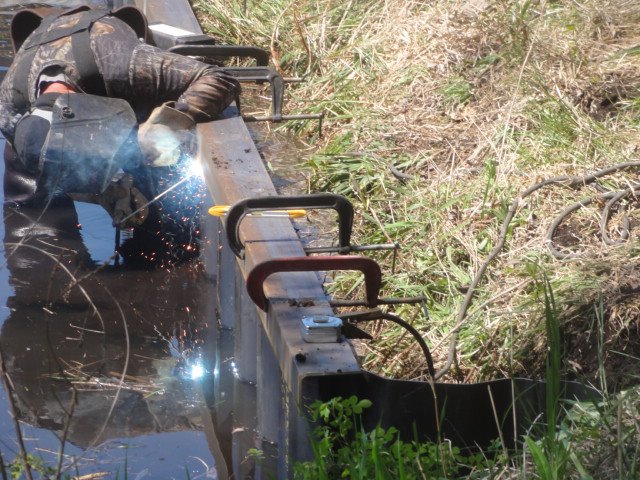
Step 7: Welding the Seawall
A cap needs to be welded onto the seawall after it has been constructed. This gives the wall a more “finished” appearance as well as provides additional support to the pilings by keeping them tightly together.
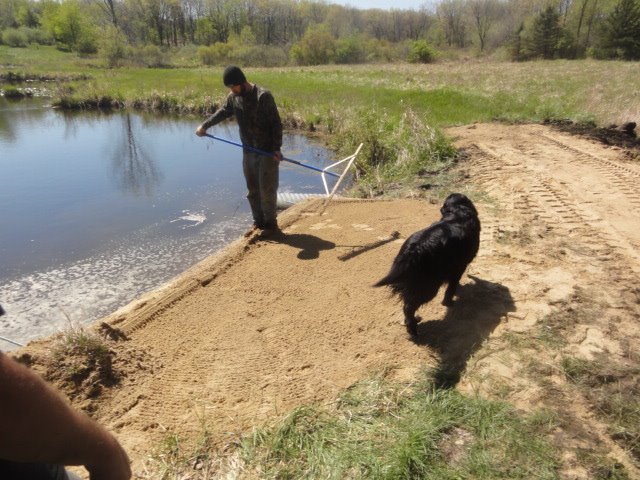
Step 8: Backfill the Seawall
Last but certainly not least, we never forget to backfill the newly constructed seawall. During any construction project with large machinery, environmental surroundings can become disturbed and not very visually appealing. That is the reason why when we backfill (which is usually done with sand), we do so right over the old seawall (Remember in Step 2 when we discussed cutting down the part of the old seawall that is below the grade? That is where the backfill goes!) We sometimes use Michigan fieldstone for riprap (Note: Riprap is a type of material – usually rock – that acts as a protector to the shoreline and its structures, such as a seawall). And finally, we grade out the entire area, making sure it is all level, neat and tidy looking! This is usually done by putting top soil and grass seed down – especially if the area became visibly damaged by our machines’ access run.
As you can see, there is certainly a great deal of work that goes into building a seawall. While the process may seem straightforward and look basic here in writing, this is just the general process and does not include or mention any other “unique” situations (such as not having land access to build a seawall) that would require a slightly different approach (such as having one of our machines on a barge in the water!) Overall, the seawall installation process usually runs smoothly, and our previous customers will tell you how pleased and satisfied they are with our work here at Seaside Seawalls. We take great pride in the work that we do and are a team made up of qualified and skilled professionals who are committed to your satisfaction! So if you are considering having a seawall or another type of structure (for a full list of our services, check out our Services Page here) built for your residential or commercial property, contact Seaside Seawalls today for a free estimate!

This is a great article. Do you know anyone in MA that can do a seawall for me?
Sincerely,
Gerry Pratt
508-xxx-xxxx
gerry******@yahoo.com